In this tutorial we’re going to be learning why our markers bleed, how to control it and how to use it to your advantage.
Part 1: Umm can you just not do that?!?
So alcohol markers actually work by pushing dye suspended in isopropyl alcohol. Alcohol evaporates fast and that’s why we have to be mindful of time constraints.
Things that will just make it worse
Paper Weight Coating Saturation & Layering Hand Pressure Color Intensity
Thin Paper saturates quickly. Slow absorption, helps blend but you always risk pooling. Repeated passes soak all paper fibers completely. Heavy hand pressure pushes ink deeper. Darker ink will travel further.
Just going over another necessary evil if you plan your art ahead of time to be cohesive. Swatching sets us up for success in the end.
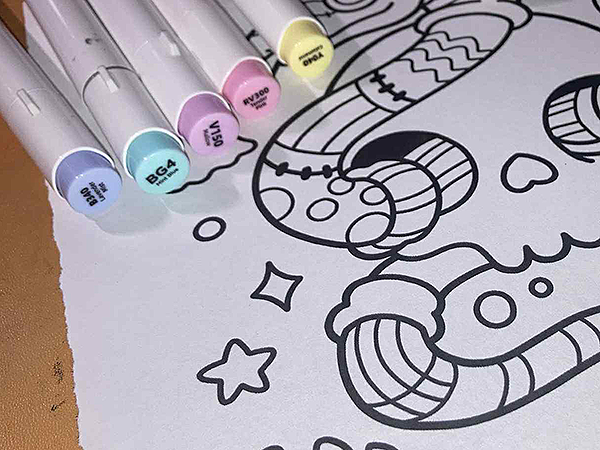
Choose your weapons:
Alcohol markers — any brand will do. Use all the things.
Paper that is bleedproof or at least marker friendly. This should be the exact paper you will be using for your project.
Alright! Let’s get into it.
To preface swatching isn’t just to compare pretty colors when you first get your set of markers. It’s also very beneficial to make sure that your color palettes you use in your pieces are cohesive and don’t end up looking crazy. You have to think about all the factors that come into play. Our main factor is when it comes to coloring is the paper we use. Why else would there be a million options to choose from? Alcohol markers behave differently depending on the paper and the rate of absorption in the paper. We also have to consider how different marker brands use different undertones in their ink. Swatching takes away the uncertainty and builds a “color reference” for your brain and makes your blending a little more predictable.
TL;DR: Layer to deepen colors. Papers differ. Markers differ. Plan your project so your don’t **** it up with an impulse decision later.
Want to add a holographic fill to your coloring masterpieces?? I’m ya girl. Watch and learn. ♥
Choose your weapons:
Alcohol markers — any brand will do. Use all the things.
Paper that is bleedproof or at least marker friendly.
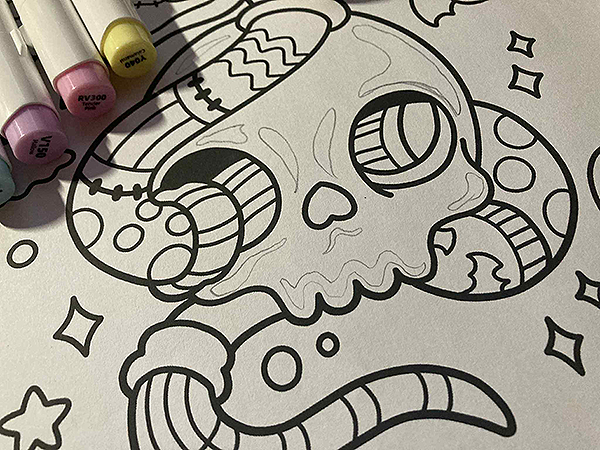
Lineart. (Yours or mine ;*)
Scrap sheet of the same paper as your lineart.
But why? Because I said so. Trust me — you’ll appreciate this step later. This is our swatch page and testing zone. It helps us judge how many layers we can apply before we overwork or bleed through our “canvas.” It’s also great for practicing effects.
Alright so gather the things and let’s get to it. Look at your image that will be getting the fill and try to imagine it filled in. Where is your light source? Where’s the highlighted areas? I recommend trying this on that scrap paper before committing this early on.
After figuring out where your highest points of your object are ;] you will be making some shapes to follow what you think it would look like if you light was shining off of it.
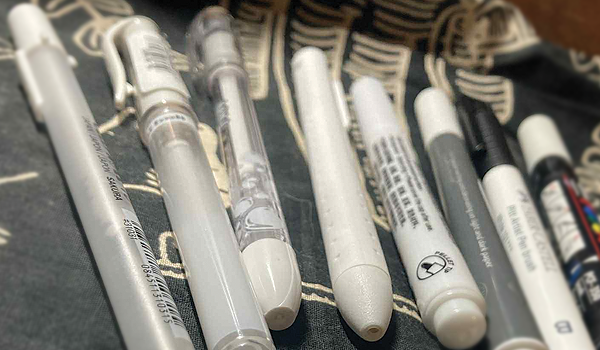
Today we’re going through seven different brands of pen and marker that can be utilized to highlight. We will test their abilities and even find a few alternate uses. We’ll test their ability to layer over alcohol marker effectively as well as their opacity and staying power.
Uniball Signo Broad
Pentel Milky Pop
Sakura Gelly Roll
Faber-Castell Pitt Artist Pen Brush
PaperMate InkJoy Gel
Temu Highlight Pen
Staedtler Brush Pen
Uni Posca Marker
I put each pen through a series of tests: Opacity, Smoothing/streaking, dry time, precision/line control, layering ability, and vibrancy. I’ll just explain what kind of perils they had to endure and give you a table summing it up. We’re going to cut the bullshit.
We’re just going to go over basic shading to add some depth to our masterpieces. We’ll touch on stippling as an alternative, and how to use complementary colors to enhance the effect.
Choose your weapons:
Alcohol markers — any brand will do. Use all the things.
Paper that is bleedproof or at least marker friendly.
Lineart. (Yours or mine ;*)
Scrap sheet of the same paper as your lineart.
But why? Because I said so. Trust me — you’ll appreciate this step later. This is our swatch page and testing zone. It helps us judge how many layers we can apply before we overwork or bleed through our “canvas.” It’s also great for practicing effects.
Alright! Let’s get into it.
Step 1: Get your shit together
First, grab your supplies. I picked a few markers and will build out my palette as I go.
Book Used ♥ Markers Used: Ohuhu, Arrtx, & Shuttle Art
Basic rundown of how to lay clean and even color with alcohol markers using simply layering. Don’t be a freak with streaks~
Choose your weapons:
Alcohol markers — any brand will do. Use all the things.
Paper that is bleedproof or at least marker friendly.
Lineart. (Yours or mine ;*)
Scrap sheet of paper that is the same as your lineart page.
But why?: Because I said so. Trust me you’ll appreciate this step later. This page is our swatch page as well will help us be able to gauge how many layers we can put on our pages before we overwork the paper or bleed through our “canvas”. You also can use it to practice effects, etc.
Into the thick of it
Step 1: Choose your colors.
Pick your colorscheme for your project. You will want a light/medium/dark combo for each color family typically. I personally enjoy a smaller palette so I ain’t doing all that. I’m using 5 main colors — scheme can be found here.
Tiny Tangent: When I say I use a colorscheme I do not include my neutrals into these. Neutrals in my brain are basic colors such as all eye, hair, skin, varieties unless it’s not natural then i make it a focal point. Control your audience. Make sure your art interests you and chances are it will interest someone else too because hey. You’re fucking cool.
It feels like I keep picking this up and putting it down and that’s so frustrating. Commit Bitch. So for the past few months I’ve been experimenting with style and stuff trying to figure out what cohesive style I was going to do all the coloring pages. There isn’t one because I’m growing everytime I draw as an artist so why confine myself to a box right? So forget themed sets unless I can focus long enough to do that.
I haven’t really figured out the layout I’m going to do with blogposts as of yet and I don’t want to keep putting things off until I’m ready. If I did I’d never be ready.
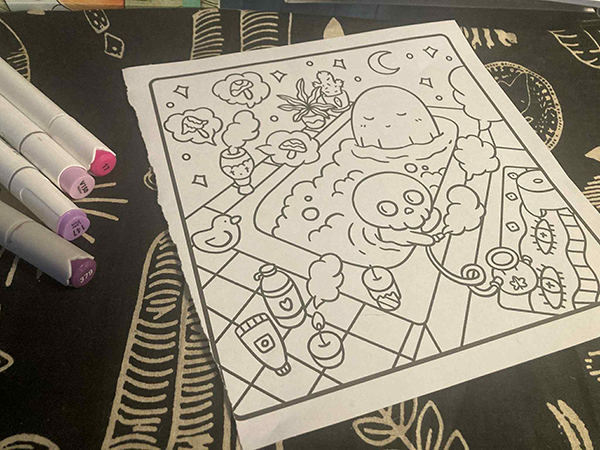
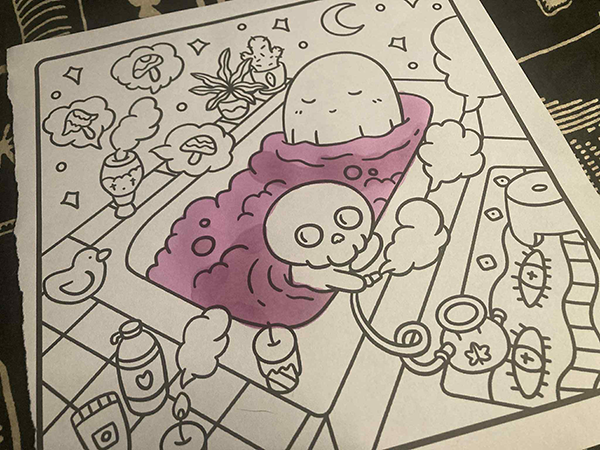
Enjoy this little timelapse of the frog slushie boys and the raccoon ice cream truck. They were a blast to make and I’m still experimenting with line weights and stuff. I want to leave enough room in the pages to where you guys feel comfortable being an artist and manipulating the provided lines. Ahhh such a good time.
I’ve been writing and rewriting this intro, trying to make it sound like I know exactly what I want to say — but let me be real with you: I just want to make shit that makes people happy.
Artopsy is a space where I share the things I create — not just for the sake of art, but so you can take those things and make something of your own. That’s always been the root of it. This started as Myspace layouts and Tumblr themes, then evolved into downloadable resources for programs like Photoshop and Illustrator.
My sites have changed. My focus has shifted. But that urge to grow, share, and create together? That’s still very much alive.
We’ve been through a lot of stages. And now? The duchess is dead. Welcome to her Artopsy.
Welcome to Artopsy.net! I'm Amanda Jean or Ajey. However way you want to spin it and I'm here to share as much knowledge as I can. I mainly do written tutorials so I apologize if you prefer video. It's overstimulating for me personally to create them. Can't focus on the art if I'm spending half my time trying to film it >:[
If you know me from: Duchess, Sugarsmack, Savage, Chimera, and Gambyte welcome back. I hope I don't dissapoint. I'm older and a little rusty but still giving it my all. ♥ In the past few years I've branched out to more than graphic and web design and that's basically what i'm sharing here. We will have traditional content such as colorschemes and photoshop brushes but I'll also be providing an array of content for traditional and digital artists such as myself. I include coloring enthusiasts in this as well. I'm so excited to share what I've learned and see what we can create together.

 Welcome to Artopsy.net! I'm Amanda Jean or Ajey. However way you want to spin it and I'm here to share as much knowledge as I can. I mainly do written tutorials so I apologize if you prefer video. It's overstimulating for me personally to create them. Can't focus on the art if I'm spending half my time trying to film it >:[